In the previous post we were able to successfully boot into our kernel.
But.. even though the bootloader we wrote is our own and we love it very much, it is a very primitive one and doesn’t really do anything other than printing a fixed string to the screen.
We’ll now integrate a battle-tested bootloader and use it to load our Rust code, instead of relying entirely on assembly.
As discussed in the previous chapter, we’ll follow Linux’s lead to use a battle tested bootloader instead of rolling our own, otherwise it’ll distract us from our main goal of writing an OS without providing any meaningful insight besides “This is how the manufacturers set things up, so write this magic number to this address, write these instructions verbatim” etc.
We’ll be using the bootloader crate for this purpose which is an experimental bootloader and integrates with rust pretty well.
What does a bootloader do?
At its core, the purpose of a bootloader is to pass the validation checks imposed by the firmware, and then hand over control to the kernel by loading the kernel code in memory and then moving the instruction pointer to that address so that CPU can start executing that code.
To make sure that your kernel code runs smoothly, the bootloader does the following:
Pass firmware validation checks
The bootloader is the first piece of software executed by the firmware after power-on or reset. Before transferring control to it, the firmware performs a set of validation checks to ensure that the bootloader is well-formed and safe to execute.
The bootloader must conform to these expectations imposed by the firmware and tell the firmware that: “Hey firmware, I am a valid executable and I am in the format you expect, so it is safe for you to hand control over to me now.”
BIOS and UEFI have different validation requirements, so the bootloader must make sure that it satisfies the specific checks of the firmware environment it wants to run under. If you want to support BIOS, it needs to pass the BIOS validation checks. If you want to support UEFI, it needs to pass the UEFI validation checks.
Fortunately for us, the bootloader crate supports exporting the bootloader as either a BIOS or a UEFI executable.
Initialize CPU Environment
Setting Up a stack
The bootloader sets up a valid stack for you to work with which is crucial for maintaining the correct state of the program and ensuring that the program can continue executing correctly.
Why a stack is needed | Figure 4.1
When functions call other functions, stack frames are created to track the call chain, allowing execution to return to the correct instruction once a callee completes i.e back to the caller where it jumped off from (the instruction the code was at before the call)
In the above Figure 4.1, we can see that there are three functions Green, Blue and Pink. When green calls blue, we need to keep track of the fact that we called it at address 0xd, so when Blue returns, we must return the instruction pointer back to 0xd. Similarly, when Blue calls Pink, it calls it at address 0xf3, and when Pink returns, we must return the instruction pointer back to 0xf3.
This is where a stack is needed, as it keeps the address of the instruction that the CPU is supposed to return to after the current function completes. As you call new functions, all you have to do is push the current instruction pointer onto the stack before calling the new function, and pop it off when the new function returns.
Switch from real mode to protected or long mode
x86 CPUs start in real mode, which is an archaic 16 bit mode. This exists for backward compatibility with systems from the early IBM PC era (~45 years ago).
But, for modern computers, real mode is not enough and in fact it is fundamentally unusable since we need more than 1MiB of memory, a sane memory addressing scheme, a layer of protection between kernel program and user programs, and sane hardware support.
We do this in the bootloader layer since it’s already written with the real mode constraints in mind. If we were to write it at the kernel level, then we’d have to maintain two separate execution contexts (for real mode, protected mode, and long mode)
Set up a GDT
Historically, the Global Descriptor Table (GDT) played a central role in memory management through segmentation.
In modern 64-bit systems, however, while segmentation still exists architecturally, it is no longer used in memory management and most of its memory-boundary features are disabled. In long mode, memory protection/address translation are handled primarily by paging.
The GDT’s primary role has moved from memory segmentation to defining execution context such as privilege levels, code type, and task state information.
In long mode, the CPU must know the answer to a bunch of questions such as:
Is the code I am trying to run a 64-bit code, or do I need to use compat mode?
What privilege level is currently active?
When an interrupt occurs, do I need to switch stacks?
Can the code even execute i.e is execution permitted?
What privilege level is active right now?
and many more.
The CPU uses structures called descriptors which contain architectural metadata that defines how execution should behave.
The Global Descriptor Table (GDT) is one such table that stores these descriptors.
While other architectural structures also participate in execution (such as paging and interrupt tables), the GDT is the only one we need to understand at this stage.
Setup bare minimum paging
The bootloader also sets up paging for its internal use since x86 long mode is architecturally defined to use paging and cannot work without it, meaning in order to even start executing a single 64-bit instruction, paging must be enabled and valid page tables must exist (i.e valid entries must be loaded in the CR3 register’s Page Table Base Register or PTBR).
Think of paging as the key that unlocks 64-bit mode. Without it, the CPU simply refuses to enter long mode.
The paging setup that the bootloader provides is very minimal, which means we will need to replace it with Page tables of our own later down the line.
I’ll explain what paging is and how it works in detail, but for now think of it as a mandatory memory management system that allows the CPU to manage memory in a more efficient and secure way.
Placing the kernel at the correct place in memory
Finally, the bootloader needs to hand over control to the kernel, which means it must load the kernel (built as an ELF binary) at a valid memory address, and move the instruction pointer to the start of the kernel code
Bootloader placing the Kernel in the correct place
With that, the bootloader’s job is done. From here on, the machine is ours.
You don’t need to understand *all* of this right now because we’ll revisit these later as required.
For now, treat these as a required rituals of the “CPU initialization phase” that the bootloader does in order to prepare the processor so that our kernel can behave like a modern 64-bit program.
How does the bootloader crate work?
The bootloader crate takes our kernel code, and appends it with the initialization code that does the tasks we discussed above.
We need to pass our kernel code to it and link them together.
We do this by first moving our code to a separate kernel crate, and then utilizing our main crate not as the actual kernel but rather as a driver and compiler stage.
Let’s begin.
First steps towards a rust kernel
As mentioned earlier, we need to move all our kernel code into a separate, child crate. You can call this crate anything, but I’ve decided to call it kernel for simplicity.
Create a new folder called kernel at the root of our project and create the following files
Moving kernel code to sub-crate
1kernel/src/main.rs
2kernel/Cargo.toml
Then move the code that we wrote in src/main.rs file earlier, into the kernel/src/main.rs and cleanup the src/main.rs file by getting rid of everything in it except an empty main function.
Once you do this, your files should look like this
Additionally, move the section that told cargo to not compile test and benches over from /Cargo.toml as well.
At the end, your kernel/Cargo.toml should look like this
kernel/Cargo.toml
1[package] 2name="kernel" 3version="0.1.0" 4edition="2024" 5 6[dependencies] 7 8# Move over from `Cargo.toml` (the one at project root) 9[[bin]]10name="kernel"# 👈 Crate name changed from zeno to kernel11test=false12bench=false
We also need to tell cargo that our project now uses sub crates. We do this by adding the following at the top of our root level Cargo.toml file
Cargo.toml
1# 👇 Add this block2[workspace]3resolver="3"4members=["kernel"]56[package]7...
We’ll also add our kernel crate as a build time dependency in our main crate
Cargo.toml
1...2[build-dependencies.kernel]3path="kernel"# 👈 Path where our kernel code lives4artifact="bin"5target="x86_64-unknown-none"6features=[]7...
When you try to compile this code with cargo build, you’ll see the following error
1error: failed to parse manifest at `/home/astronaut/Project/blogs/writing-an-os-in-rust/zeno/Cargo.toml`
23Caused by:
4 `artifact= …` requires `-Z bindeps` (kernel)
Artifact dependencies allow Cargo packages to depend on bin, cdylib, and staticlib crates, and use the artifacts built by those crates at compile time.
Run cargo with -Z bindeps to enable this functionality.
Okay, let’s try to do that
1cargo build -Z bindeps
💡 Persisting the -Z bindeps
It’d be hectic to remember and add the -Z bindeps every time we compile. We should persist this in the cargo config file so that it is applied by default
Add this to your .cargo/config.toml (create this file)
.cargo/config.toml
1[unstable]2bindeps=true
This also requires that we are in nightly channel. Some features of rust we’re going to need, that are not yet stabilized (e.g the asm! macro, the bindeps config etc) require the usage of the nightly channel.
To do this, create a new file called rust-toolchain.toml and add this snippet
Next step: install the bootloader crate that will help us compile our code and package it up with a bootloader.
Add the bootloader crate as a build dependency dependency (notice the --build flag)
1# We're using a fixed version since at the time of writing
2# the subsequent versions are broken
3cargo add --build bootloader@=0.11.13
Build Script
Let’s now write a bit of code to actually start processing our kernel and load it as a bootable image.
We want to run this process as soon as we build our code, so instead of writing this in our src/main.rs file, we write it in our build.rs file, which executes at compile time. This code is copied straight from the official bootloader crate docs.
If you’ve chosen to name your kernel sub-crate something other than kernel, you’ll need to adjust the path to the kernel binary accordingly. More specifically, you need to change:
From CARGO_BIN_FILE_KERNEL_kernel to CARGO_BIN_FILE_<NAME OF YOUR CRATE>_<name of your binary>
This variable tells our build script where our kernel binary lives.
We also add additional log statements of our own (the last 2 lines), which will make our lives easier later.
build.rs
1usebootloader::BootConfig; 2usestd::path::PathBuf; 3 4fnmain(){ 5// set by cargo, build scripts should use this directory for output files
6letout_dir=PathBuf::from(std::env::var_os("OUT_DIR").unwrap()); 7// set by cargo's artifact dependency feature, see
8// https://doc.rust-lang.org/nightly/cargo/reference/unstable.html#artifact-dependencies
9letkernel=PathBuf::from(std::env::var_os("CARGO_BIN_FILE_KERNEL_kernel").unwrap());1011letmutboot_config=BootConfig::default();12boot_config.frame_buffer.minimum_framebuffer_height=Some(1080);13boot_config.frame_buffer.minimum_framebuffer_width=Some(1920);1415boot_config.frame_buffer_logging=true;16boot_config.serial_logging=true;1718// create an UEFI disk image (optional)
19letuefi_path=out_dir.join("uefi.img");20bootloader::UefiBoot::new(&kernel)21.set_boot_config(&boot_config)22.create_disk_image(&uefi_path)23.unwrap();2425// create a BIOS disk image
26letbios_path=out_dir.join("bios.img");27bootloader::BiosBoot::new(&kernel)28.set_boot_config(&boot_config)29.create_disk_image(&bios_path)30.unwrap();3132// pass the disk image paths as env variables to the
33println!("cargo:rustc-env=UEFI_PATH={}",uefi_path.display());34println!("cargo:rustc-env=BIOS_PATH={}",bios_path.display());3536// On top of the code mentioned in the bootloader crate's docs, we've added 👇 these lines as well, to make our lives easier
37println!("cargo::warning={}",format_args!("{}",uefi_path.display()));38println!("cargo::warning={}",format_args!("{}",bios_path.display()));39}
When we try to compile our code now, it compiles successfully and we get the following output:
We take the files that were emitted by the build process and pass them over to qemu-system-x86_64 and see if it can load them.
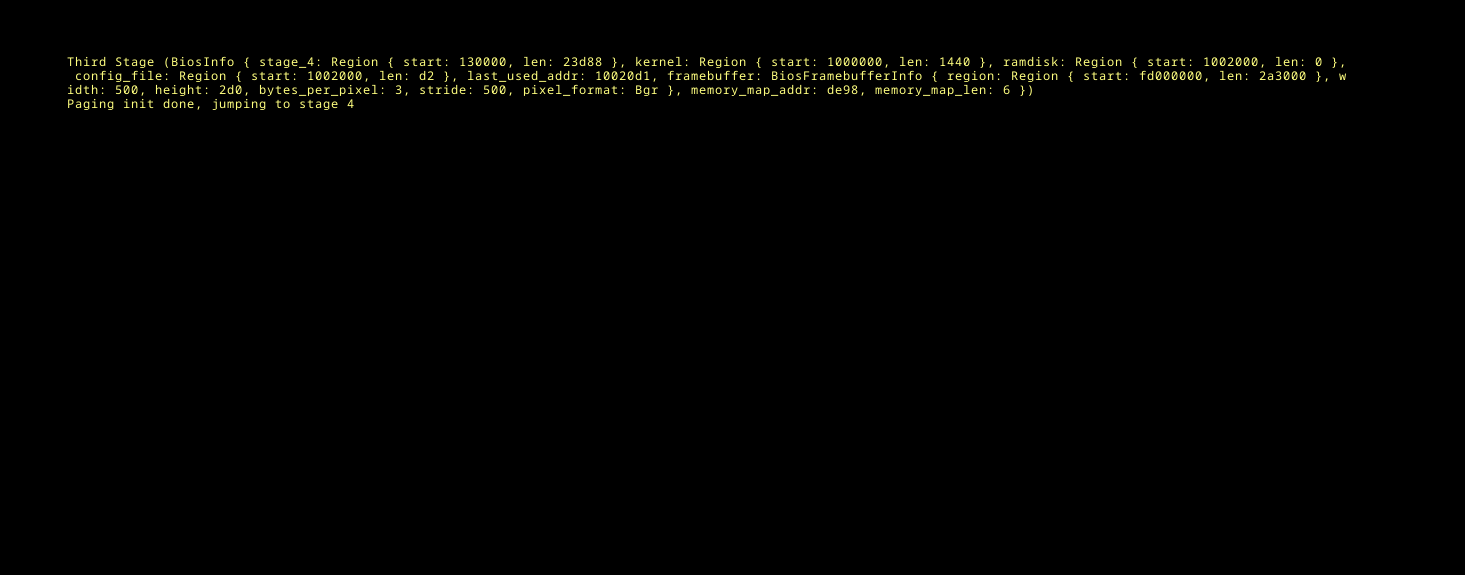
BIOS
1qemu-system-x86_64 /path/to/bios.img # 👈 replace this path with the path that you see above
If all goes well, you should see the following screen.
Successful Boot
Nice! We just crossed the boundary between firmware and our own OS. We’re so close. Let’s try to run our UEFI image as well. Run the following command and make sure to add the -bios OVMF.fd flag to tell QEMU to use a UEFI based firmware
UEFI
1qemu-system-x86_64 /path/to/uefi.img -bios OVMF.fd # 👈 replace this path with the path that you see above
Uh oh..
We see the following error in the QEMU virtual machine:
1panicked at /path/to/zeno/.cargo/registry/src/index.crates.io-1949cf8c6b5b557f/
2bootloader-x86_64-common-0.11.13/src/lib.rs:107:18:
3bootloader config section not found;kernel must be compiled against bootloader_api
In the Leaving the Kernel dependencies behind post, we got rid of any entry point to our code as rust suggested. We now need to introduce a new entry point so that our bootloader can call our kernel.
The gist of it is that we need to call the entry_point! macro with a few configuration options.
Let’s make those changes and then circle back
Add bootloader_api dependency
1# in the `kernel` directory. Remember to use a fixed version, since subsequent versions are broken.
2cargo add bootloader_api@=0.11.13
kernel/src/main.rs
1usebootloader_api::{BootInfo,entry_point};// 👈 Import what's needed
2 3// 👇 Add these changes
4... 5fnmain(){ 6// our main code will live here
7} 8 9// We use a separate `launch` function to initialize the kernel.
10// This is where the bulk of our initialization, setup and startup code will live.
11fnlaunch(_: &'staticmutBootInfo) -> !{12main();1314loop{15// since there's nothing for us to do right now, we'll just loop endlessly
16}17}1819constCONFIG: bootloader_api::BootloaderConfig={20bootloader_api::BootloaderConfig::new_default()21};2223entry_point!(launch,config=&CONFIG);24...
Now when we try to run our code
1# in the root of our source
2cargo build
3qemu-system-x86_64 /path/to/uefi.img -bios OVMF.fd # 👈 replace this path with the result from cargo build
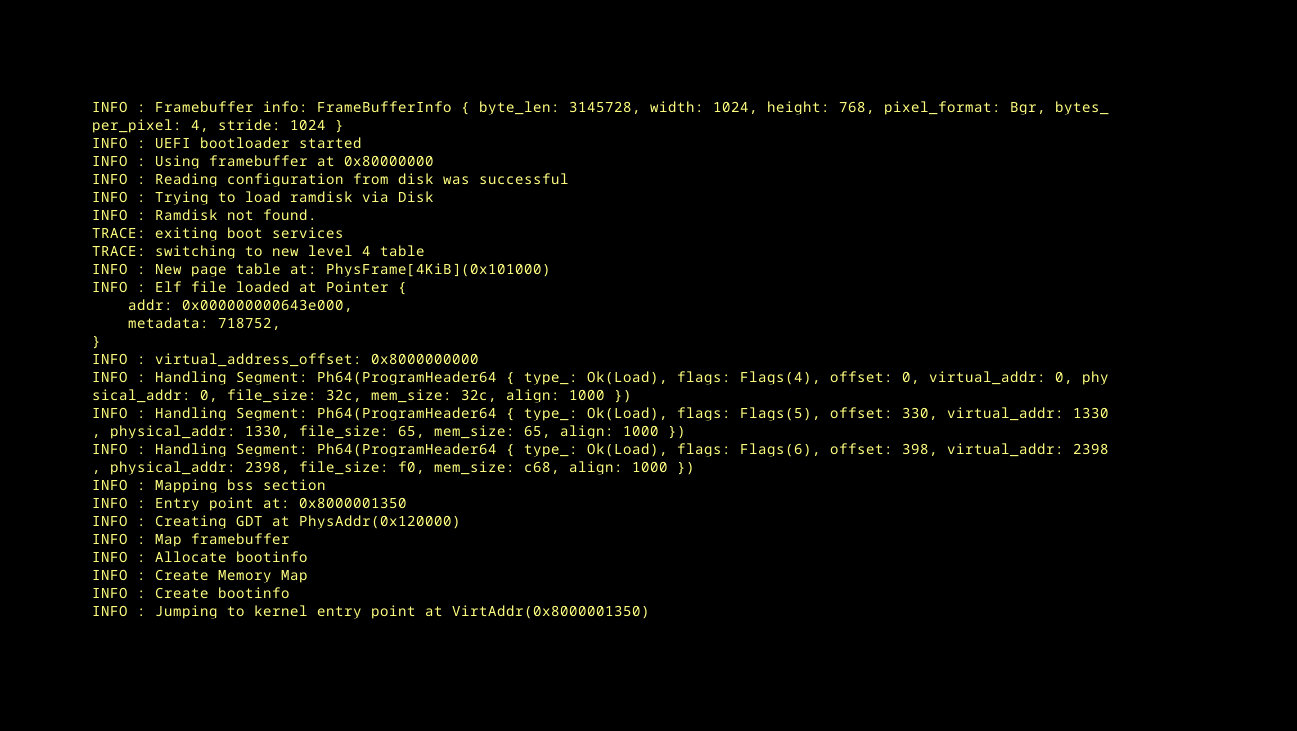
Fingers Crossed!
Booting with UEFI
YEAHH!!! 🎉🥳
Now we’re getting somewhere! At this point, our OS boots on both BIOS and UEFI. This is a very good start.
Automating the build process
This process of first compiling, then finding the output files and passing them to qemu-system-x86_64 is a bit much. Let’s automate this by writing some code in rust that first fetches the environment variables to figure out where our build.rs file put those images, and then pass it over to QEMU. We’ll also add a bunch of additional options on top of it so that we can customize QEMU behavior.
We can repurpose our root level src/main.rs for this, since most of our work is being done in the build.rs file instead.
main.rs
1usestd::env; 2usestd::process::{Command,exit}; 3 4fnmain(){ 5// read env variables that were set in build script
6letuefi_path=env!("UEFI_PATH"); 7letbios_path=env!("BIOS_PATH"); 8 9// parse mode from CLI
10letargs: Vec<String>=env::args().collect();11letprog=&args[0];1213// choose whether to start the UEFI or BIOS image
14letuefi=matchargs.get(1).map(|s|s.to_lowercase()){15Some(refs)ifs=="uefi"=>true,16Some(refs)ifs=="bios"=>false,17Some(refs)ifs=="-h"||s=="--help"=>{18println!("Usage: {prog} [uefi|bios]");19println!(" uefi - boot using OVMF (UEFI)");20println!(" bios - boot using legacy BIOS");21exit(0);22}23_=>{24eprintln!("Usage: {prog} [uefi|bios]");25exit(1);26}27};2829letmutcmd=Command::new("qemu-system-x86_64");30// print serial output to the shell
31cmd.arg("-serial").arg("mon:stdio");3233// enable the guest to exit qemu
34cmd.arg("-device")35.arg("isa-debug-exit,iobase=0xf4,iosize=0x04");3637ifuefi{38cmd.arg("-drive")39.arg(format!("format=raw,file={uefi_path}"));4041cmd.arg("-machine").arg("q35");42cmd.arg("-cpu").arg("qemu64");43cmd.arg("-smp").arg("4");44cmd.arg("-m").arg("512M");4546cmd.arg("-device").arg("virtio-gpu-pci");47cmd.arg("-display").arg("gtk");4849cmd.arg("-bios").arg("OVMF.fd");50}else{51cmd.arg("-drive")52.arg(format!("format=raw,file={bios_path}"));53}5455letmutchild=cmd.spawn().expect("failed to start qemu-system-x86_64");56letstatus=child.wait().expect("failed to wait on qemu");57matchstatus.code().unwrap_or(1){580x10=>0,// success
590x11=>1,// failure
60_=>2,// unknown fault
61};62}
Now, instead of manually building, then figuring out the output location and passing it to QEMU, all you have to do is
1cargo run bios # for BIOS mode
2cargo run uefi # for UEFI mode
Phew, Lot of changes, lot of new things to figure out. But with that, I think we’re in a very good position, all things considered.
In the next post, we’ll introduce Serial output so that we can debug our code. We’ll also introduce Port I/O as a way to control QEMU from inside the kernel.
Before we do that though, we’ll perform some minor housekeeping to make sure our codebase stays modular and organized.